
Introduction to Agisoft Metashape.
Agisoft Metashape is a digital photogrammetry software application that is used for turning drone-collected photographs into high-quality maps and 3D models. This exercise will walk through the basics of how to use Metashape.
This lab exercise will introduce you to the processing UAV images using Metashape. You will use a set of images collected at UI’s Rinker Rock Creek Ranch to learn about the Metashape interface and processing workflow.
Generally, the final goal of photo processing with Metashape is to build a textured 3D model, DEM, or orthomosaic. The procedure of processing photographs and constructing 3D models comprises four main stages:
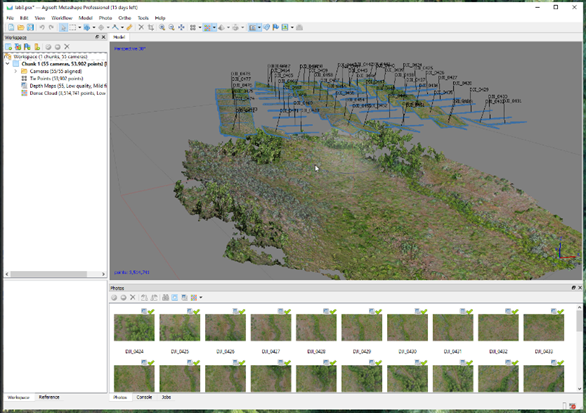
- Camera and Image alignment: In this stage Metashape searches for tie points in photographs and matches them. From those tie points, Metashape then estimates the position and orientation of the camera (exterior orientation) for each picture and refines camera interior orientation parameters. Metashape then creates 3D coordinate estimates for each of the tie points. Outputs from this stage are the set of camera positions/orientations and a sparse point cloud of the tie points.
The sparse point cloud represents the results of photo alignment. It can be used to identify and remove low accuracy tie points, but generally it is not directly used in further processing. Conversely, the set of camera positions (exterior orientation) is required for further 3D surface reconstruction by Metashape. - The next stage is generating a dense point cloud that is built by Metashape based on the estimated camera positions and pictures themselves. Dense point cloud may be edited and classified prior to exporting or proceeding to the next stage
- The third stage is generation of a surface mesh and/or DEM. 3D polygonal mesh models represent the object surface based on the dense or sparse point cloud. Alternatively, a digital elevation model (DEM) can be built from the dense point cloud by assigning a specific raster cell size.
- After the surface is reconstructed and a DEM or surface mesh is created, an Orthomosaic can be generated. Orthomosaic is a merged version of the original images that has been corrected for relief and perspective displacement. The orthomosaic is projected onto the DEM or mesh model.
In this lab exercise, you will carry out all the stages above using mostly Metashape’s default values. This will get you familiar with Metashape and the photogrammetric workflow. In subsequent labs we will dive deeper into each step and how the various options improve accuracy or detail.
Note, this lab exercise was created using Metashape Professional version 1.8. This exercise still applies to newer (2.x) versions of Metashape, but the menus and interface may look slightly different.